ShopDreamUp AI ArtDreamUp
Deviation Actions

Gallery V
Support my work, get an illustration of choice with desired resolution and see curated illustrations.
$5/month


Suggested Deviants


Suggested Collections


You Might Like…


Description
DOWNLOAD HERE
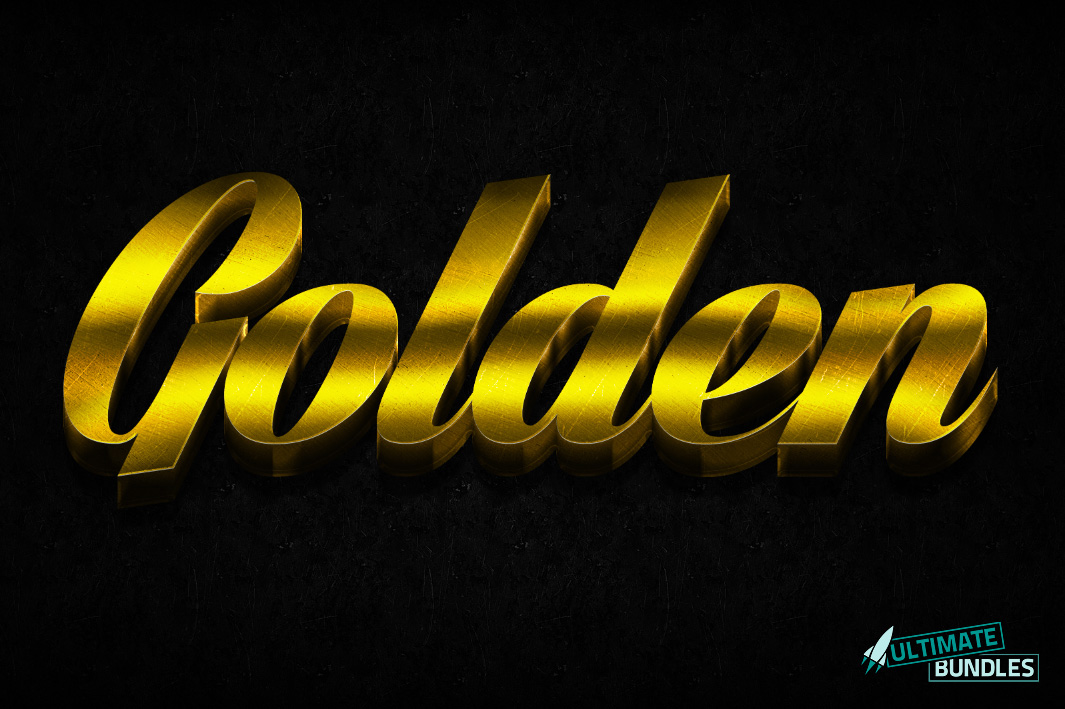
Easily create 3D metal text and icons with a simple click of a button. This Photoshop bundle comes with 8 high quality cutting-edge 3D metal effects. Works great with vector shapes! Save time and money by utilizing our library of mouse made 3D metal layer styles and effects. This Bundle includes Photoshop actions, styles and template.
------------------------------------------------------------------------------------------------------------------------------
3D EFFECTS INCLUDED
------------------------------------------------------------------------------------------------------------------------------
3D Bolted Metal Effect
3D Scratched Metal Effect
3D Gold Effect
3D Chrome Effect
3D Brushed Metal Effect
3D Industrial Metal Effect
3D Alloy Metal Effects
3D Diamond Plated Effects
------------------------------------------------------------------------------------------------------------------------------
INSTALLATION INSTRUCTIONS
------------------------------------------------------------------------------------------------------------------------------
unzip the download file and double click the .ASL file located in the "styles" folder
and double click the .atn file located in the "Actions" folder.
------------------------------------------------------------------------------------------------------------------------------
HOW TO USE THE ACTIONS
------------------------------------------------------------------------------------------------------------------------------
In order to use the actions, it is required to have the styles (.asl) installed.
1. Create text or shape
2. Rename layer "chrome" (note: do not use quotes and chrome must be all lowercase or the action will not work)
3. Navigate to Actions window "window actions"
4. Find "3D Styles" folder and expand by clicking the right carrot / arrow to the left of the folder
5. Click the 3D effect you want to use and click the "play" button to generate effect
Note: It is not possible to edit text once the action has been rendered. If you make a mistake or mispell a word, you will need to reapply the action.
------------------------------------------------------------------------------------------------------------------------------
THE PHOTOSHOP FILE TEMPLATES
------------------------------------------------------------------------------------------------------------------------------
This is the exact template that we used to create the 3D effects. When opening the file, there is example text ready to be rendered. You can change the text or simply delete it and use your own text, the choice is yours.
------------------------------------------------------------------------------------------------------------------------------
FREQUENTLY ASKED QUESTIONS
------------------------------------------------------------------------------------------------------------------------------
Q: What's dimension were used in the preview images?
A: 2198 x 1576 Pixels at 72 DPI - 7.3 x 5.2 Inches at 300 DPI
Q: I deleted the "Up" action because it didn't anything when I tested. Now when I run an action, they do not work anymore.
A: The "Up" action is needed in order to create the 3D effect. DO NOT DELETE THIS ACTION! If you delete by mistake, simply delete the "3D Styles" folder in the actions panel and reload the original file.
Q: I keep getting the error message "The object 'layer' chrome copy 49 is not currently available".
A: Your layer must be named "chrome" all lowercase and no quotes.
Q: I keep getting the error message "The command "Make" is not currently available".
A: This occurs when you have already created a 3D render. Simple convert the grouped folder "Chrome" into a smart object or merge the group.
Q: Is it possible to edit the rendered styles and effects?
A: Absolutely! Each layer has blending options available for you to edit and tweak to create your own unique variation.
Q: How do I edit the amount of highlights and gloss on the 3D render?
A: Simply right click on the layer named "Chrome Main Texture" and click "Blending Options" and edit the "Bevel & Emboss" and "Satin" options.
Q: Can I edit my text after I've rendered the 3D effect?
A: Unfortunately, no. There isn't a way to create this type of 3D effect without using certain techniques that require you to rasterize specific layers.
Image size
1065x709px 214 KB
© 2013 - 2024 xstortionist
Comments1
Join the community to add your comment. Already a deviant? Log In
good jop